Hey there! If you are new here, welcome. I’m so happy to see you!
This post is going to be about our recent fireplace makeover, including what led us to make this very permanent decision, as well as what tools I used, the overall cost, and how long this project took. But, first you should know that my husband and I bought our first home in June of 2020. This home was by far our favorite in terms of size and vibe and, let’s be honest, price.
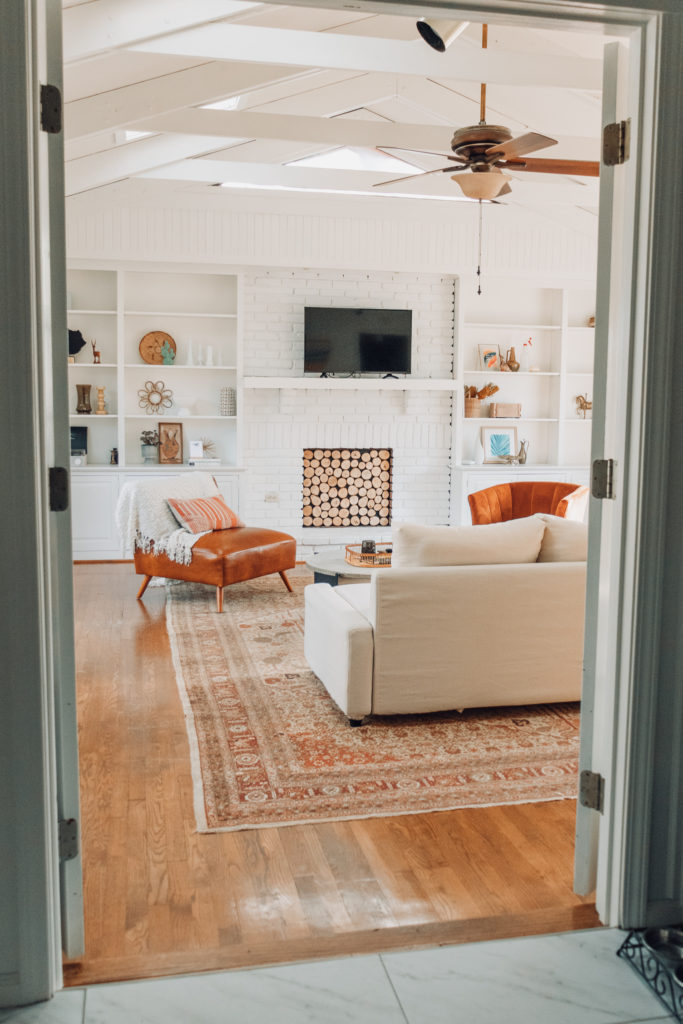
But what made us love this house the most was the sheer potential it had. We aren’t ready for a huge renovation, mentally or financially, so we were elated to find a house that could really feel like ‘ours’ with some paint and minor updates. Today, I’m sharing my favorite update yet: our living room fireplace!
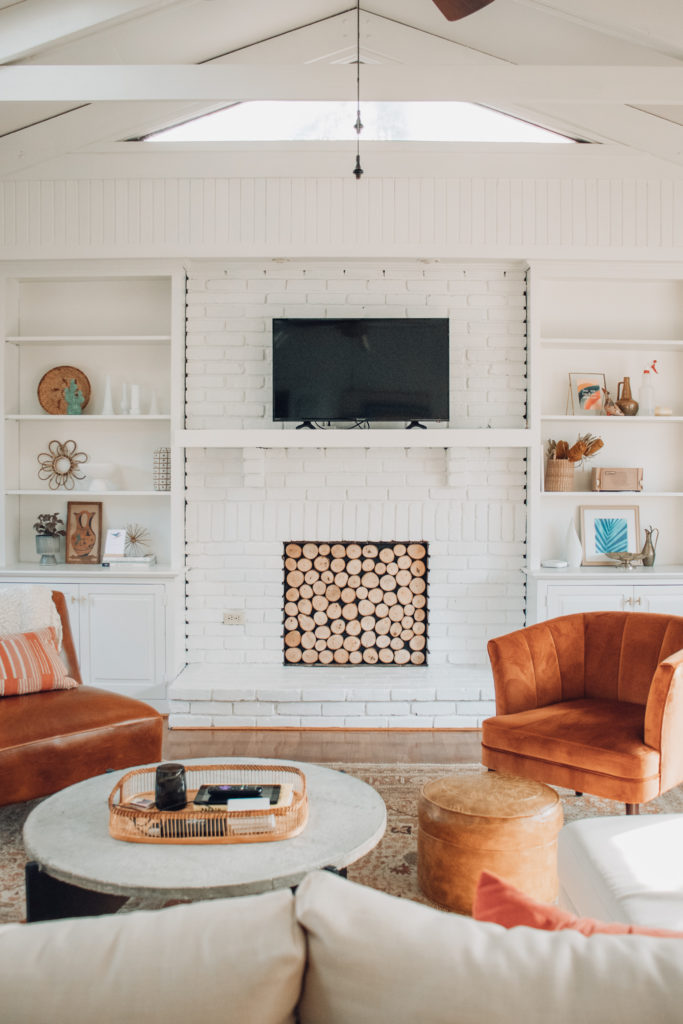
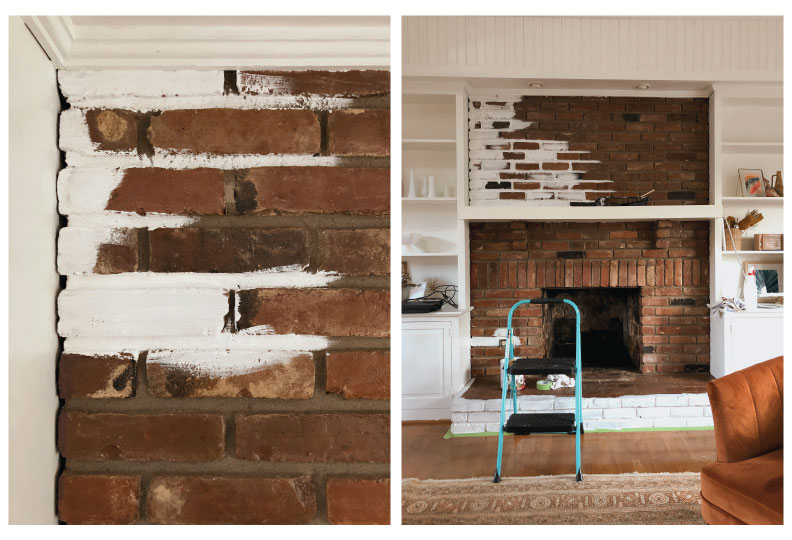
It’s my absolute favorite. And maybe you can see why if you take a look at how this area of the room looked the day we got the keys:
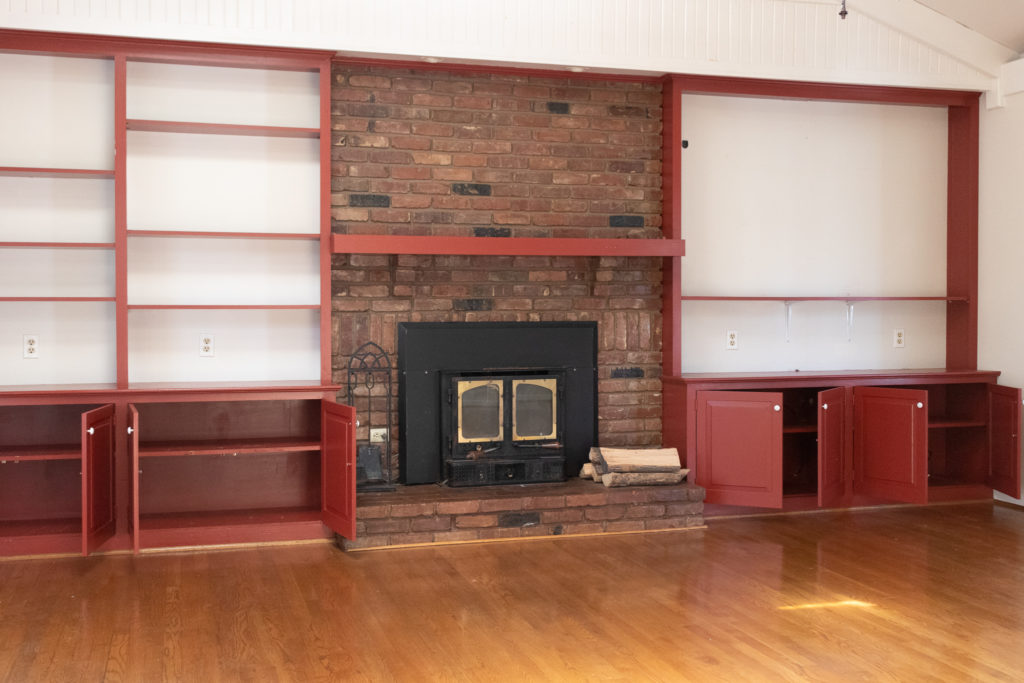
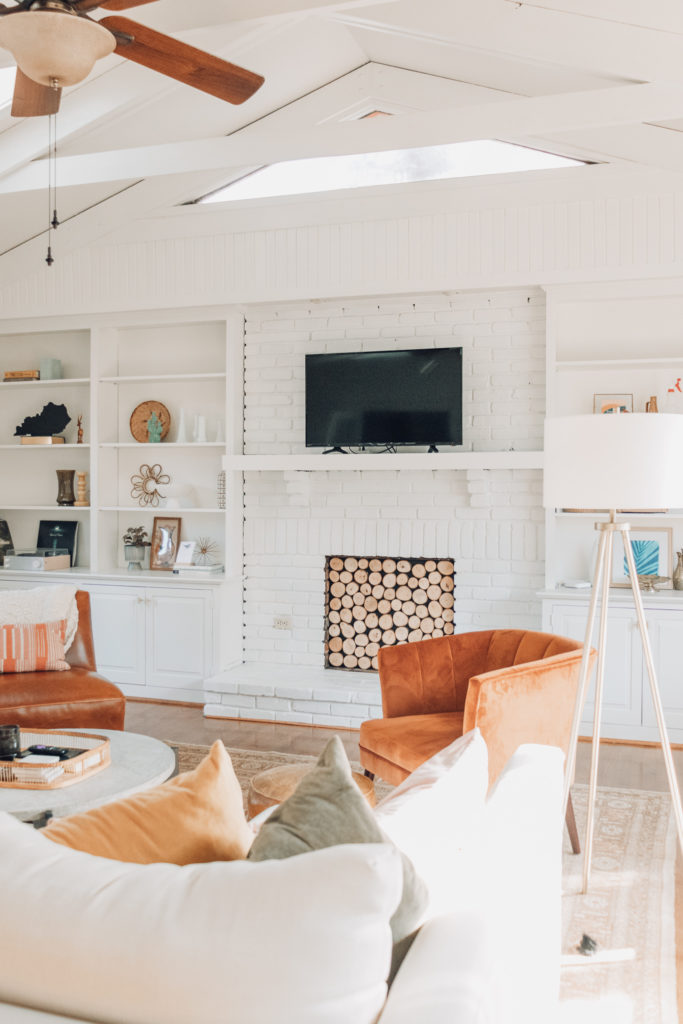
Clearly, more than just the brick has changed! When we first moved into the home, we painted everything (built-ins included) Alabaster by Sherwin Williams. We also fixed the built-in shelves to be symmetrical on both sides.
This is what it looked like after painted, right before we moved in all our furniture:
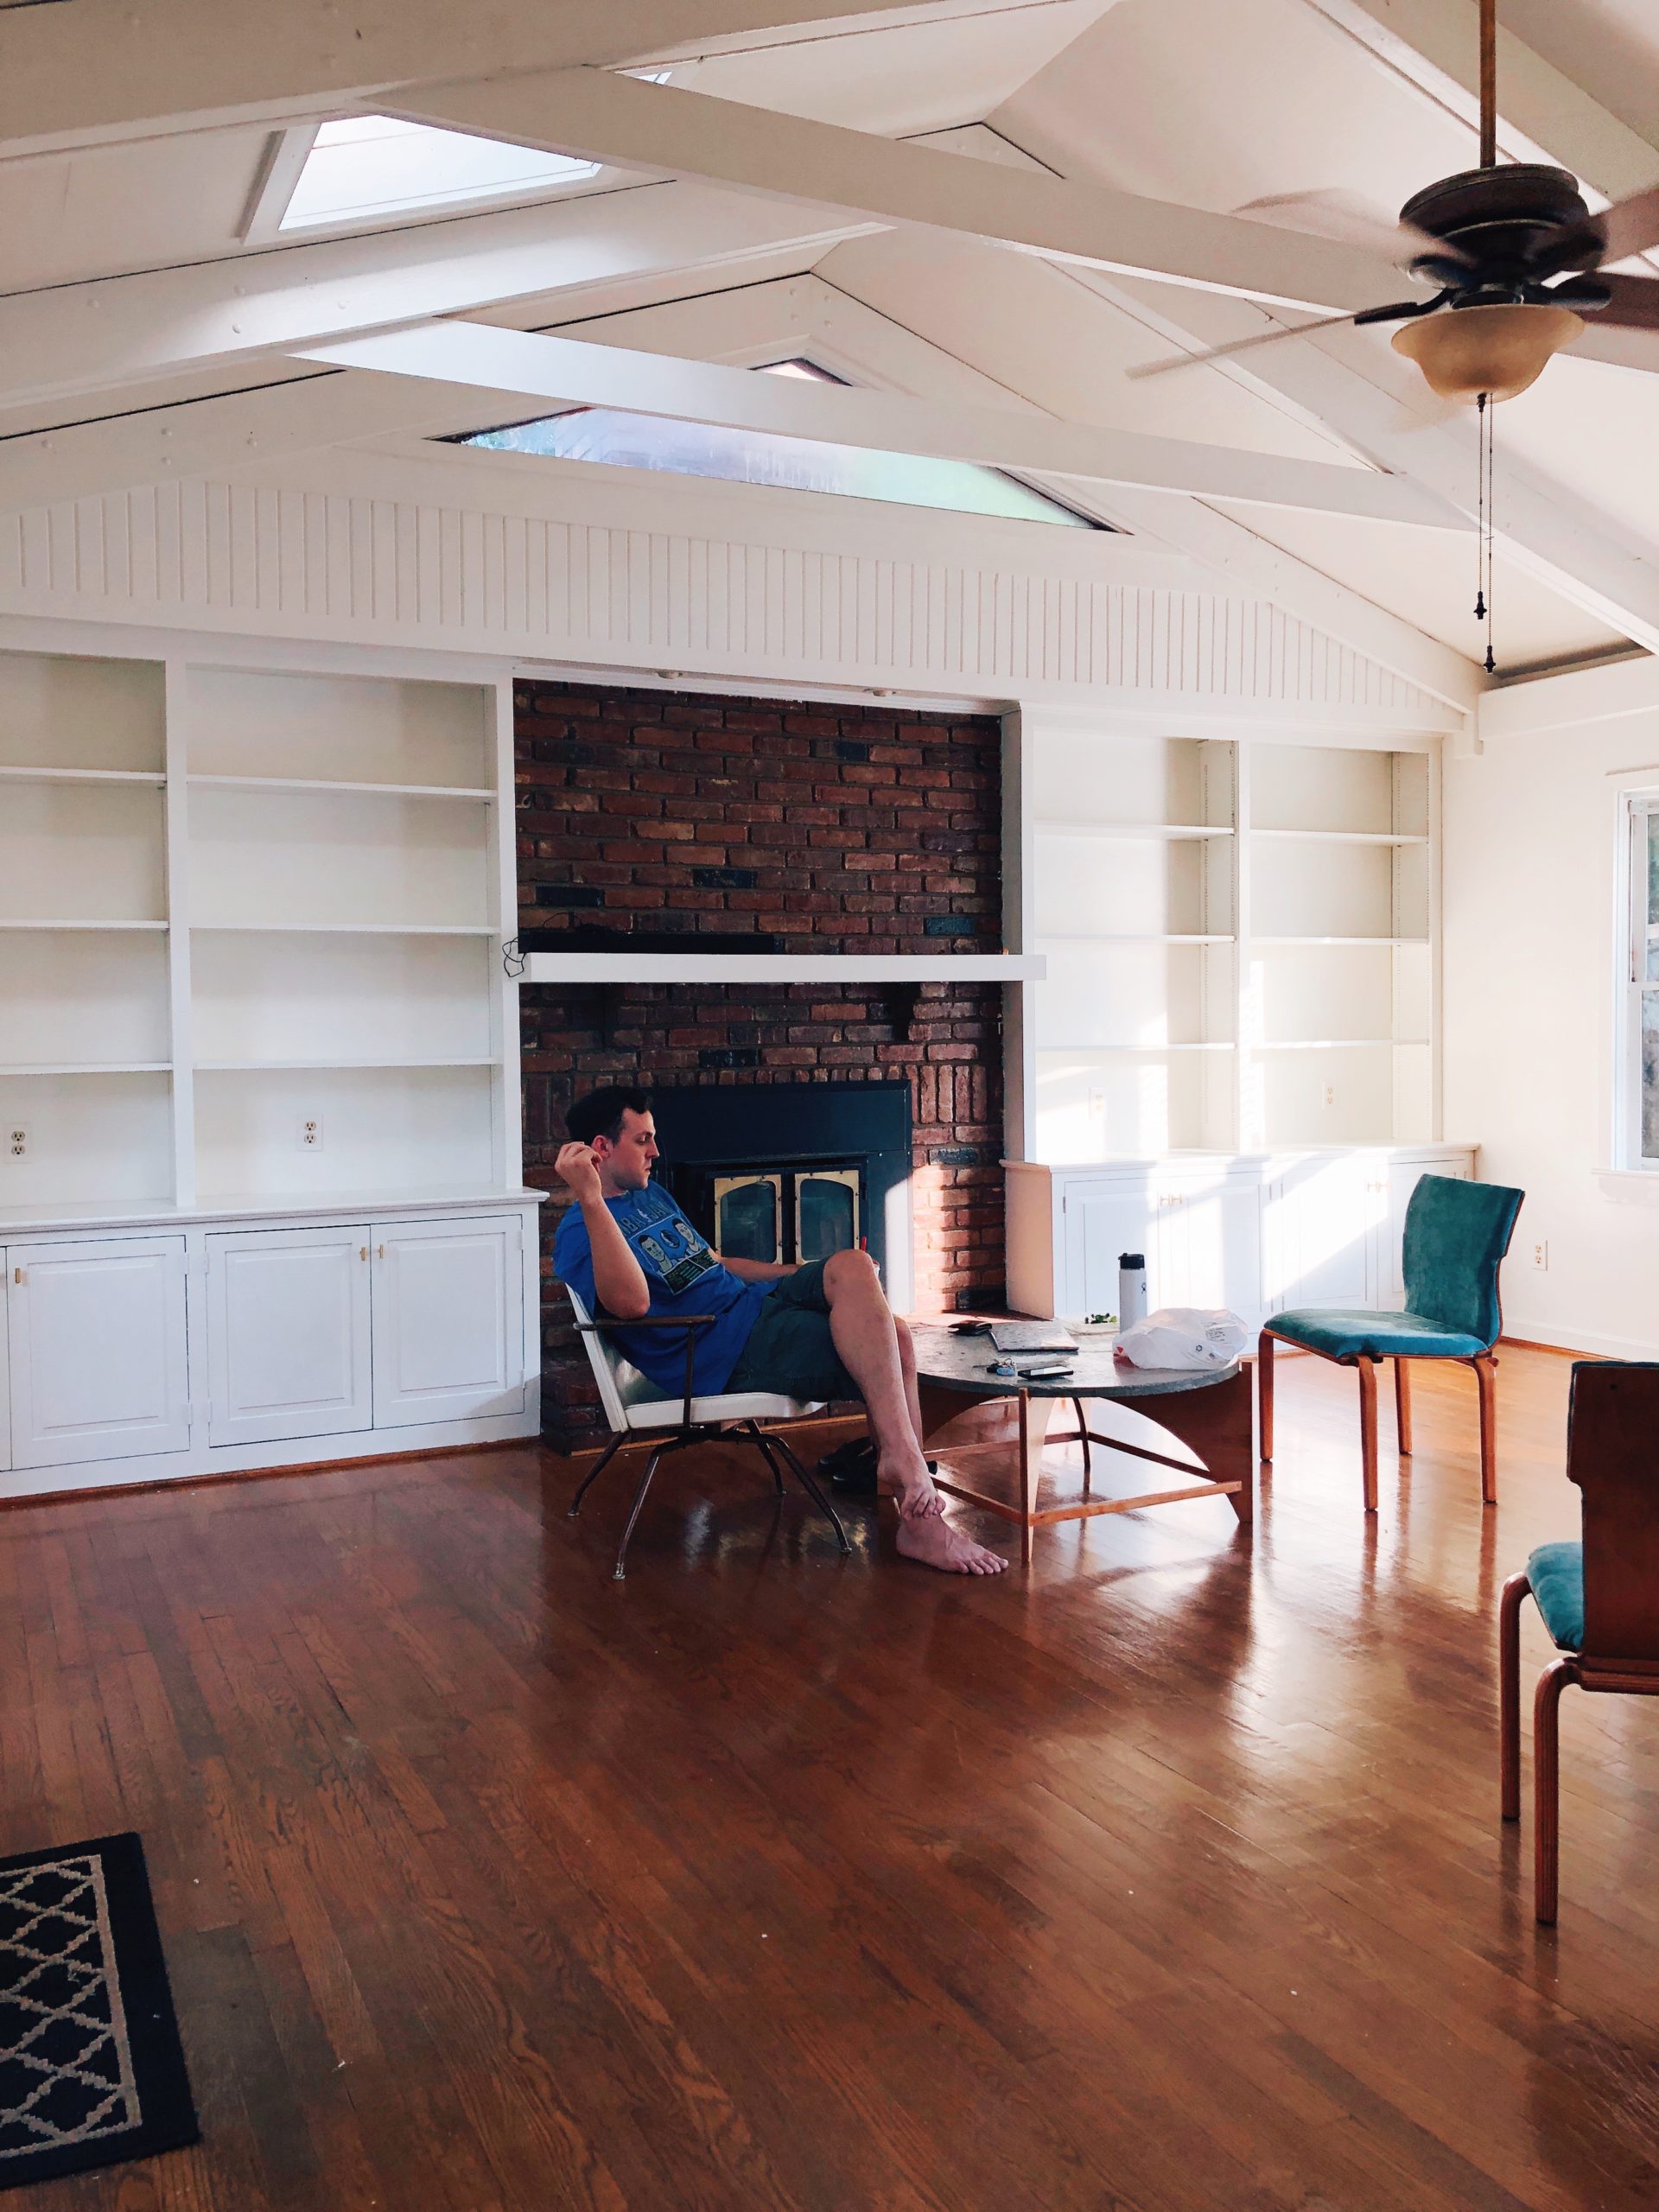
Obviously, the brick was fine and we didn’t have any immediate plans to paint it (though I definitely wanted to). However, when it came time to get our fireplace professionally cleaned and ready to use, we got the bummer news that the current stove insert was completely unusable. So, we removed the stove, and that’s when I convinced my husband that we should paint it.
If you’ve ever felt conflicted about painting brick, welcome to the club. Because, even though I knew how good it would look, I had a major moment of guilt. There’s something about the permanence of painting brick that completely freaked me out, and I truly, truly felt guilty for doing something irreversible to a perfectly fine brick fireplace. I also had some guilt over future owners of this house who might be disappointed in the choice, since this definitely isn’t our forever home.
But, you know what? I had a vision for this amazing living room—truly, the focal point of our home and definitely a selling point in the future—and the dark, moody brick was totally killing my vision. And I promised myself that if I used the right kind of paint and did this project right, that it would be fine. So, let’s get into that stuff!
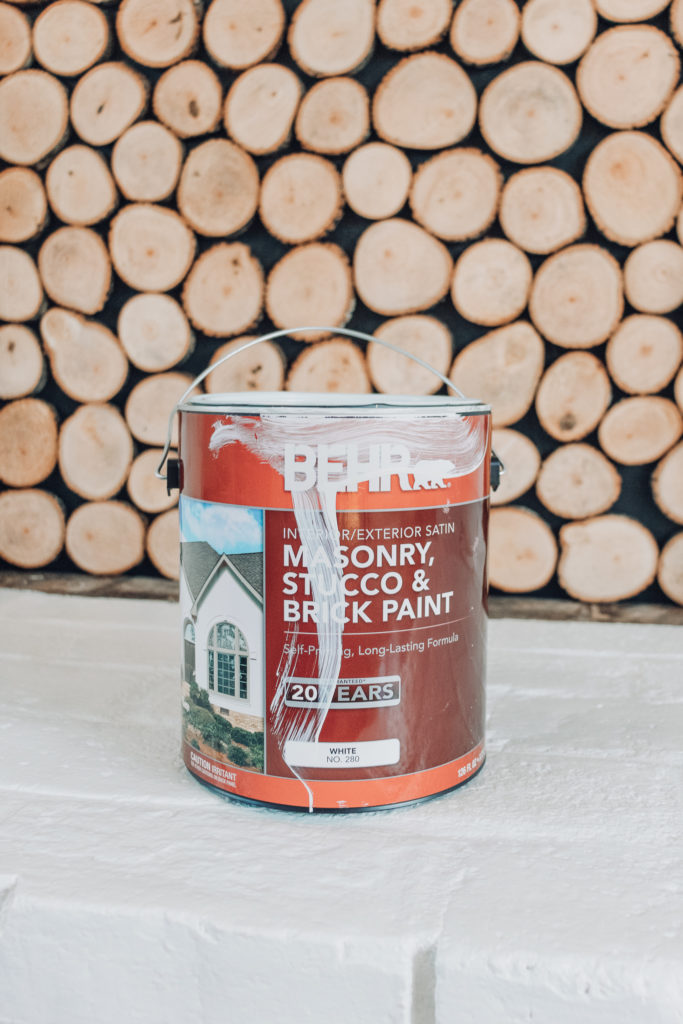
After doing tons of research on what paint is best to use on brick, I decided on the Behr Masonry, Stucco and Brick Paint. It’s available at Home Depot, and I was able to get it tinted to a color very close to SW Alabaster (The color is Behr Crystal White).
This paint has great reviews, and since we plan to use our fireplace, it was very important to us to get a paint that is meant for fireplaces. However, I didn’t paint the inside of the fireplace because, truthfully, I didn’t want to clean it and there is no amount of white that would cover all that up. LOL.
If you plan to use your fireplace, as well as paint the inside, make sure you get a paint that’s safe for burning fires. Also, make sure that the paint you get can be tinted to the color of your choice. This Behr paint came with a booklet of about 25 color options, which I didn’t realize until I got to Home Depot. Luckily, ‘Crystal White’ was a good match for what we needed.
Besides paint, you need specific paint brushes and a roller with a specific nap. I used Nylon/Polyester Paintbrushes by Wooster (also Home Depot, linked here), and a 9-inch roller with a 3/8 inch nap, which worked well for the surface of our brick. The rule of thumb is, the rougher the surface, the higher the nap. But no matter what paint you use, read the back of the can because it will give you specifics on the type of brush or roller needed.
Let’s talk logistics of the project:
Cost: about $55 with brushes and a roller. We already had tape (Frogtape is my favorite), paint trays and roller frames from previous projects. If you need to buy those things, take your cost up to about $70-ish.
Time: 10 hours of active cleaning and painting over 2 days. With proper time management, you could probably do this in a day. Each coat suggests 4 hours to fully, fully dry, and I found that some spots were still damp after 3 hours. So I gave each coat overnight.
Coats: 2 full coats + Final Touchups
Paint Used: 1/2 a Gallon
Step 1: Clean entire surface, using a vacuum with brush cleaner attachment and a degreasing spray cleaner. Vacuuming is super important because you need to get every loose particle up and out of corners and grout. We have a really deep grout on our fireplace, and there was just so much debris hiding in every corner. The brush cleaner head works super well to make sure you can be thorough!
After vacuuming, use a spray cleaner. I had a degreaser left over from a floor painting project so I let the cleaner settle on the surface for about 15 minutes, and then cleaned with a damp rag. I basically scrubbed until I could see as little dirt on the rag as possible. For me, I gave up on trying to get it completely cleaned, and mainly focused on doing the best I could. I’m not a perfectionist in any area of life, and this was no different. Which is kind of a blessing and a curse when it comes to home projects.
Step 2: Tape off Your boundary (for me this was just on the floor) and determine where you need to begin. I was overzealous and wanted to start at the bottom, but quickly realized I needed to start from the top down to avoid smudging wet paint.
Step 3 + 4: Start with the grout. Using an angled 2-inch brush helped me get into the deep grout and apply paint there first. After all the grout is covered, use a roller brush to cover the surface.
After one coat, it looked like this:
You can see it’s a little bit splotchy, but overall, I was so surprised at how full coverage one coat of the Behr paint is. Our brick was so porous, I really expected this to be a 3-4 coat job.
Step 5: Allow to fully dry before applying a second coat. For the second coat, do the same method of grout, then roller.
Step 6: Wait for second coat to fully dry again, most likely overnight to be safe. Do touch-ups where needed to cover holes in brick or splotchy areas.
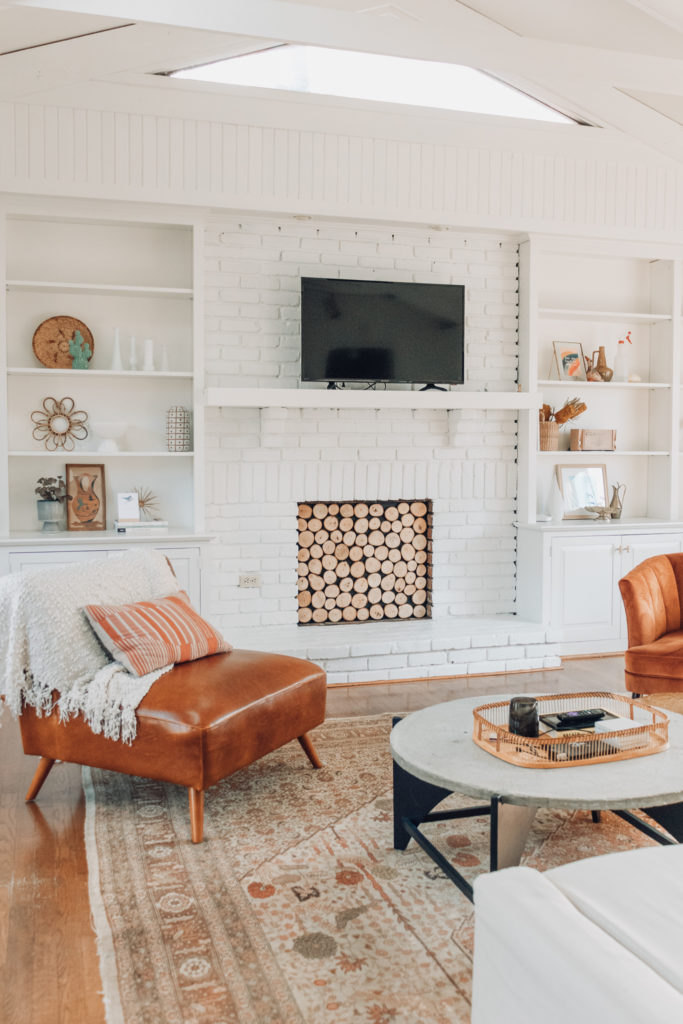
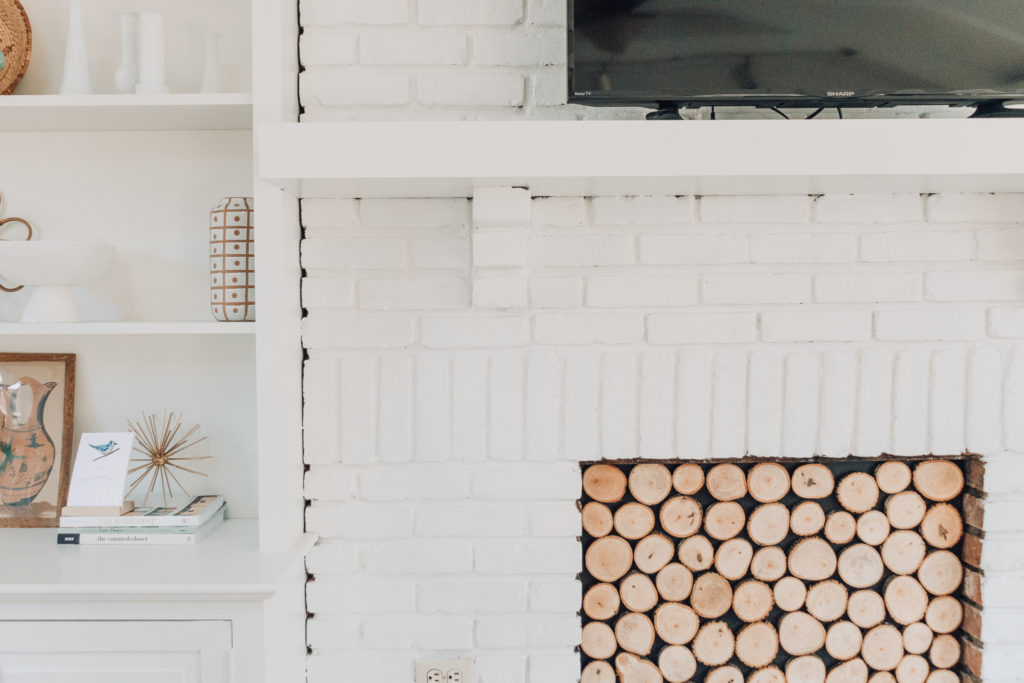
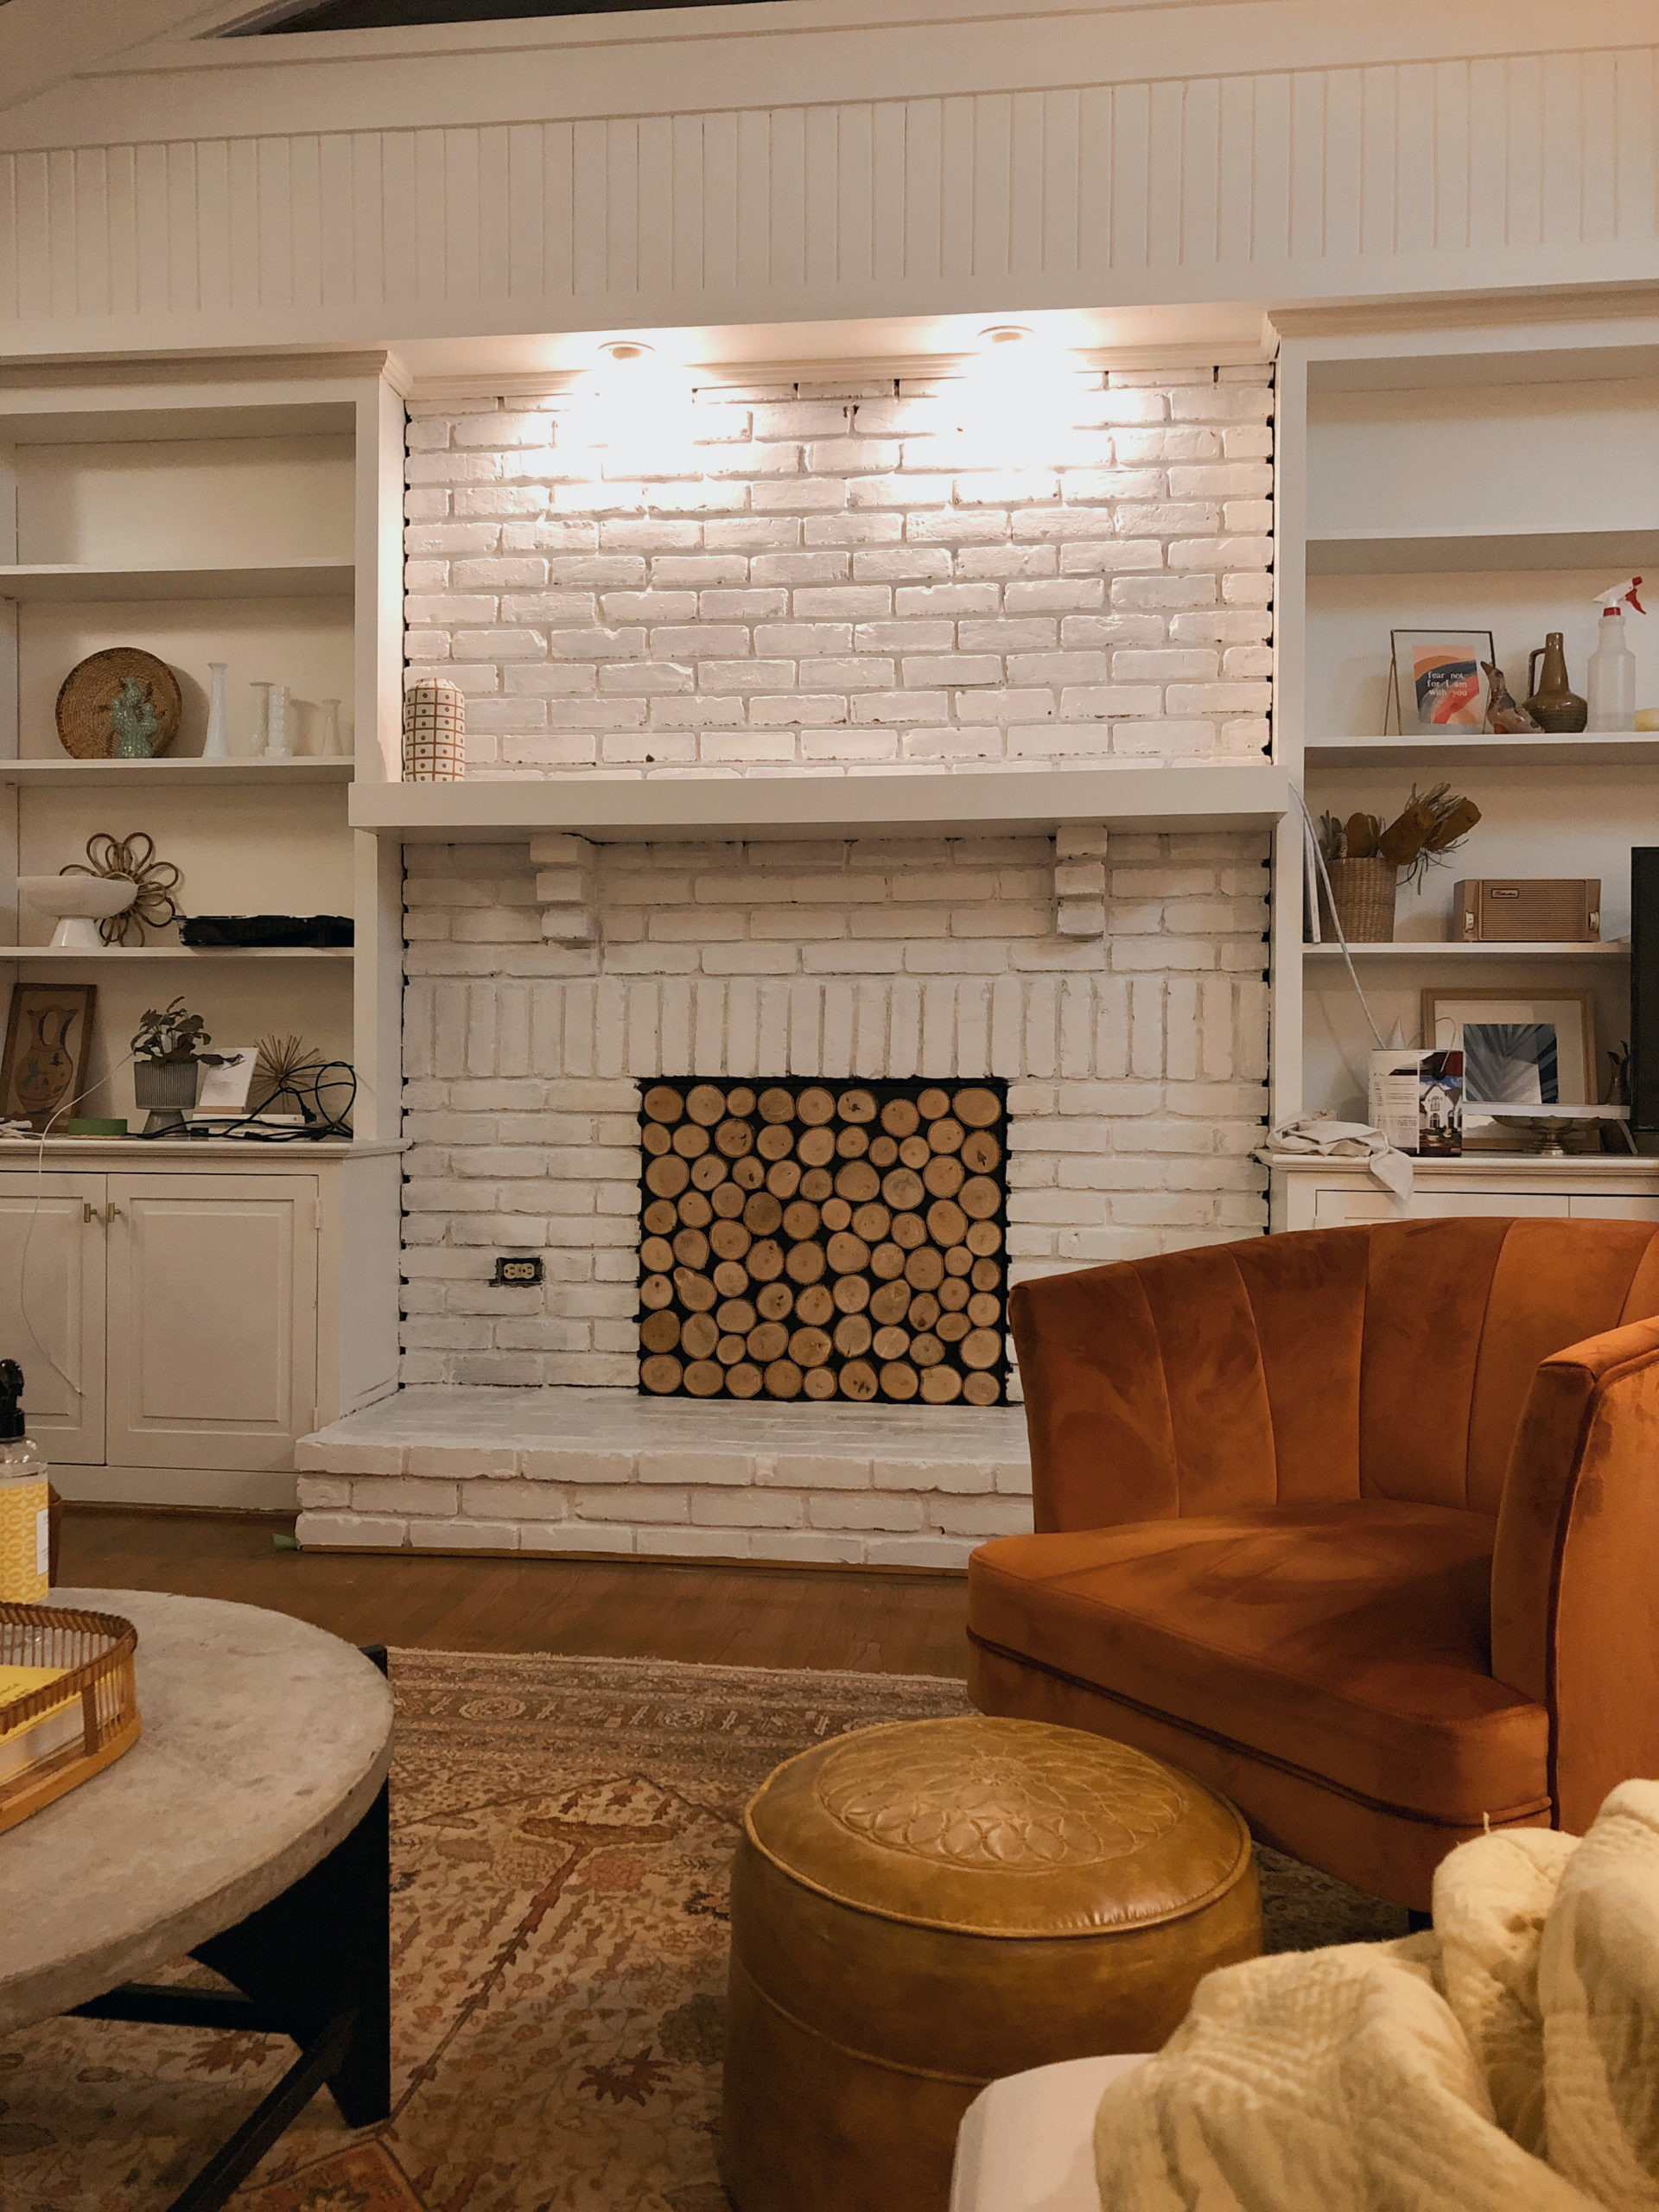
And then enjoy it! We waited another day before putting our tv back up, but you could do that whenever you want as long as it’s not touching the wet paint.
Coming up soon on the blog is my DIY Faux Stacked Log Fireplace Cover. Another super easy, very rewarding project.
And after that, I am creating a plan for decorating our built-ins in a super cohesive way that I can’t wait to share with you!
Let me know what you thought about this transformation and if you would paint brick, or if you have those weird guilty feelings like I did. I would love to know!


Thank you for sharing this informative article. I hope a lot of contractors could read this and be guided accordingly.