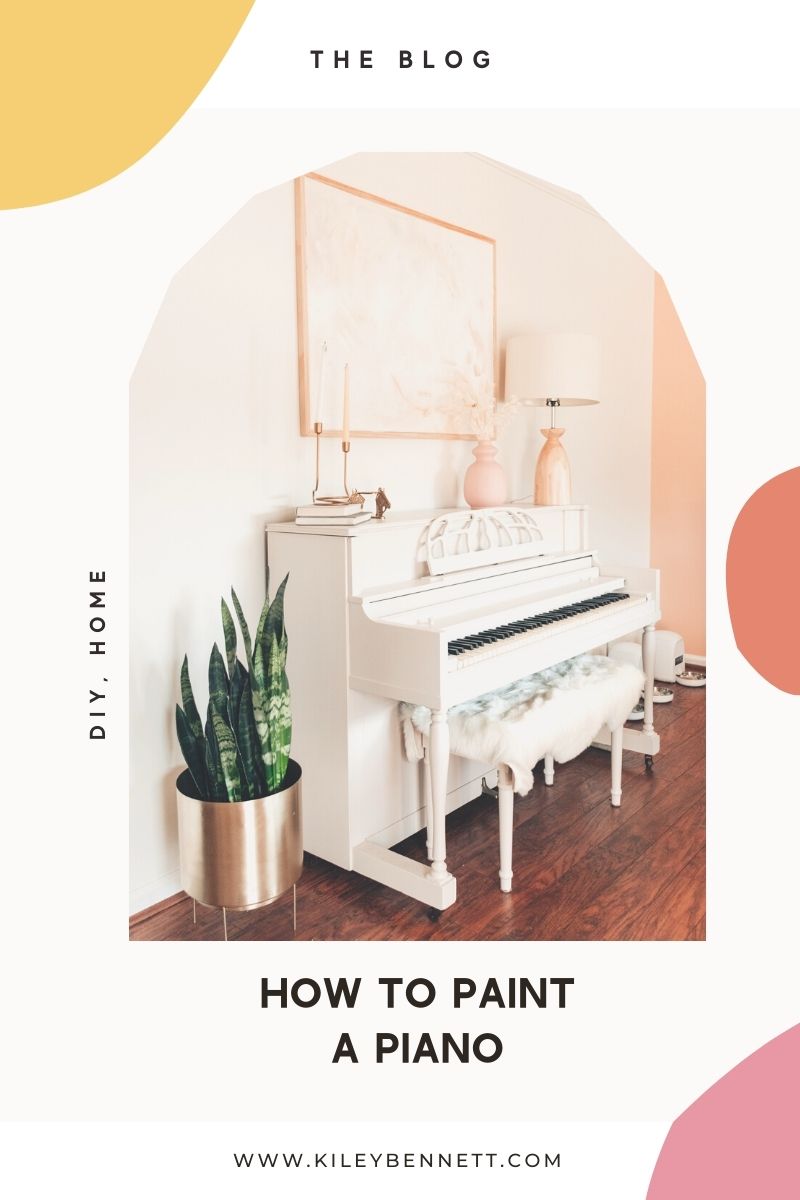
I’ve always wanted to paint a piano! Ever since the dawn of Pinterest, I’ve been pinning brightly colored pianos to my “future home” board. Needless to say, I’m pretty excited my dream has come to fruition. And today, I’m going to share with you just how easy it is. To see the full process in action with before and afters, check out my Instagram Story Highlight!
First, let me say, this DIY project was much easier and faster than I expected. As someone who has painted a lot of goodwill furniture, I have definitely painted worse! So, if you’ve always wanted to try this, but haven’t had the energy for it…let this be your sign to go for it!
Here’s what you’ll need:
- Sandpaper or sanding block
- Medium and Fine grit sand paper
- Degreaser
- Dusting cloth
- Paint in color of your choice (I used regular interior paint in a semi-gloss finish)
*You can also use chalk paint
- Small Foam roller
- Detail paint brush
- Painter’s Tape
Begin by cleaning the piano with a degreaser and dust cloth. This is a KEY step. Our piano was free to us from a theater that was no longer using it, and had collected SO much dust and grime. But even a piano in a perfectly clean home collects a lot of everyday gunk. It’s vital to make sure every surface is free of dirt and all the nooks and crannies are dust free. For really hard to reach corners, I used a q-tip and degreaser.
Next up is sanding. Sanding is only necessary if using interior latex paint. I opted to purchase a foam sanding block to make the process easier (I hate sanding as it is). Start with a medium grit sand paper, then move to a fine grit to get an extra smooth finish. It is not necessary to sand down to the raw wood—just enough is good enough!
After sanding, make sure to wipe all sanding dust off with more degreaser. And then, the fun part!
Like I said earlier, you could totally use chalk paint. I happen to not like working with chalk paint (I never get a good result), plus, the color selection for interior paint is too good to pass up. Opting for a semi-gloss finish will hold up to scuffs and everyday wear much better.
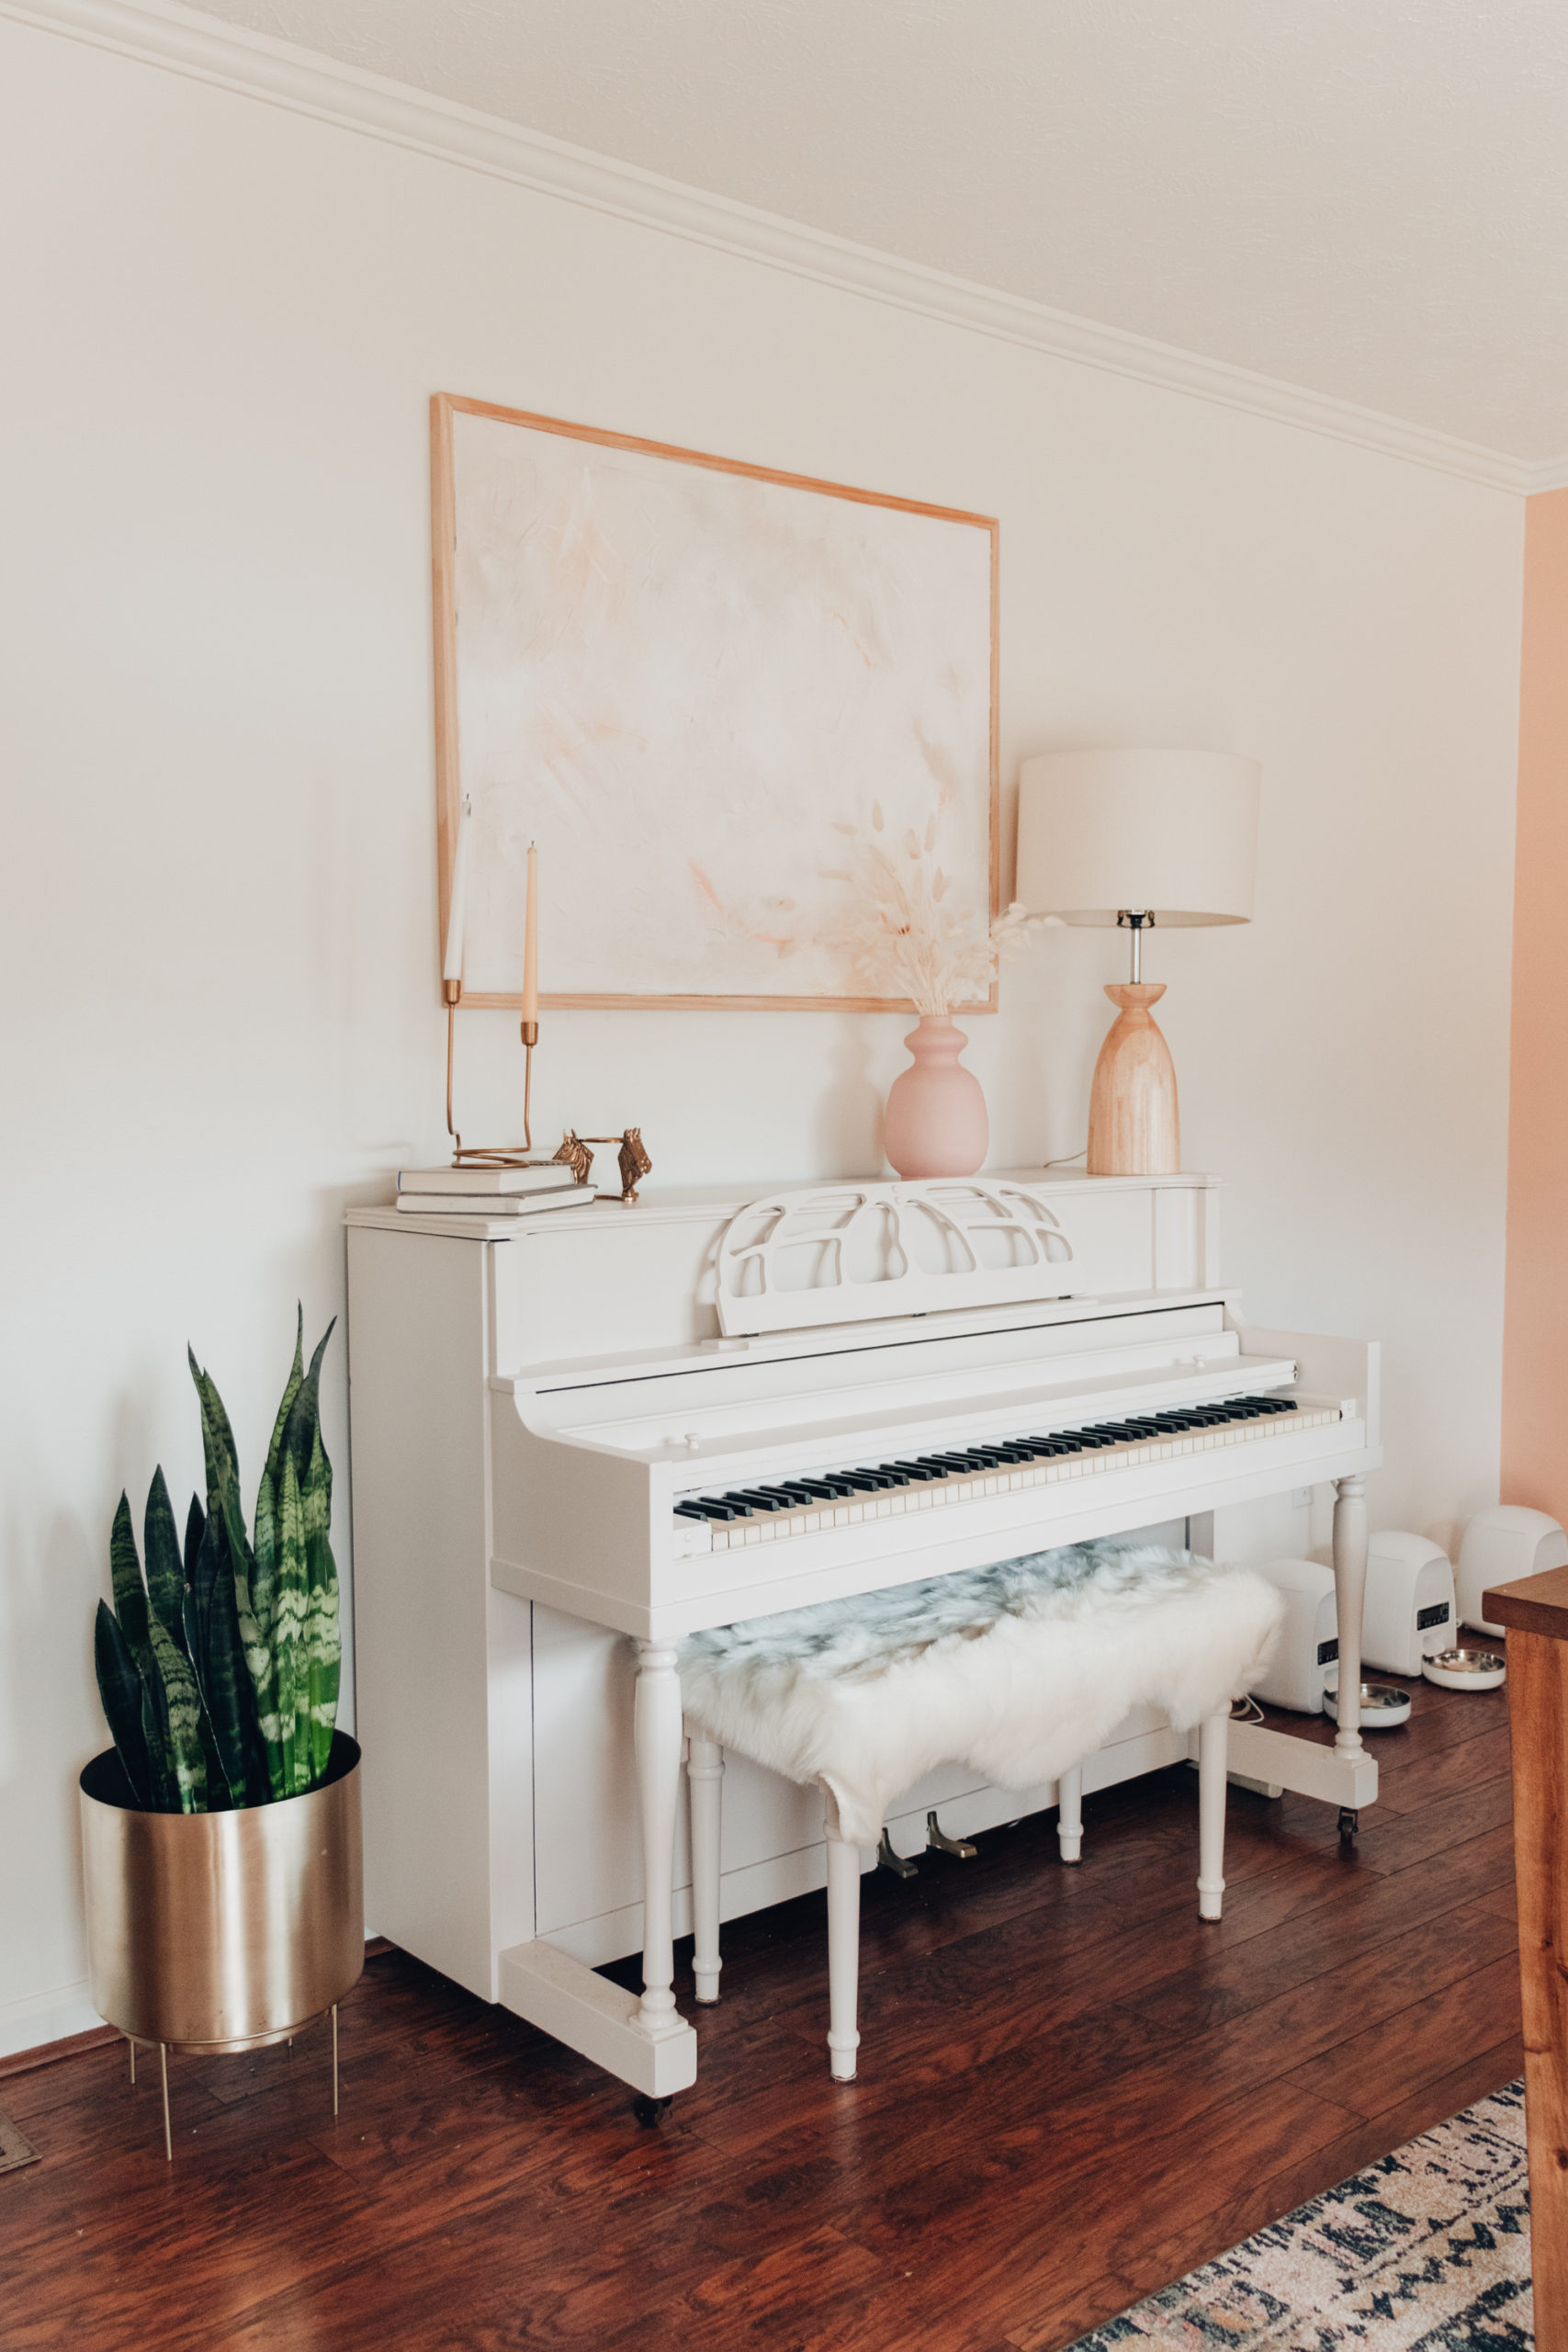
After much deliberation, I chose the Sherwin William’s Color “White Timbre” because it is neutral, soft, and not bossy. As much as I would love a crazy, fun, bold statement piano, it wouldn’t go with my current decor in the slightest. Because I chose a light color, I expected that the piano would need 3-4 coats for full coverage. To my surprise, it only needed two coats. Such. A. Relief!
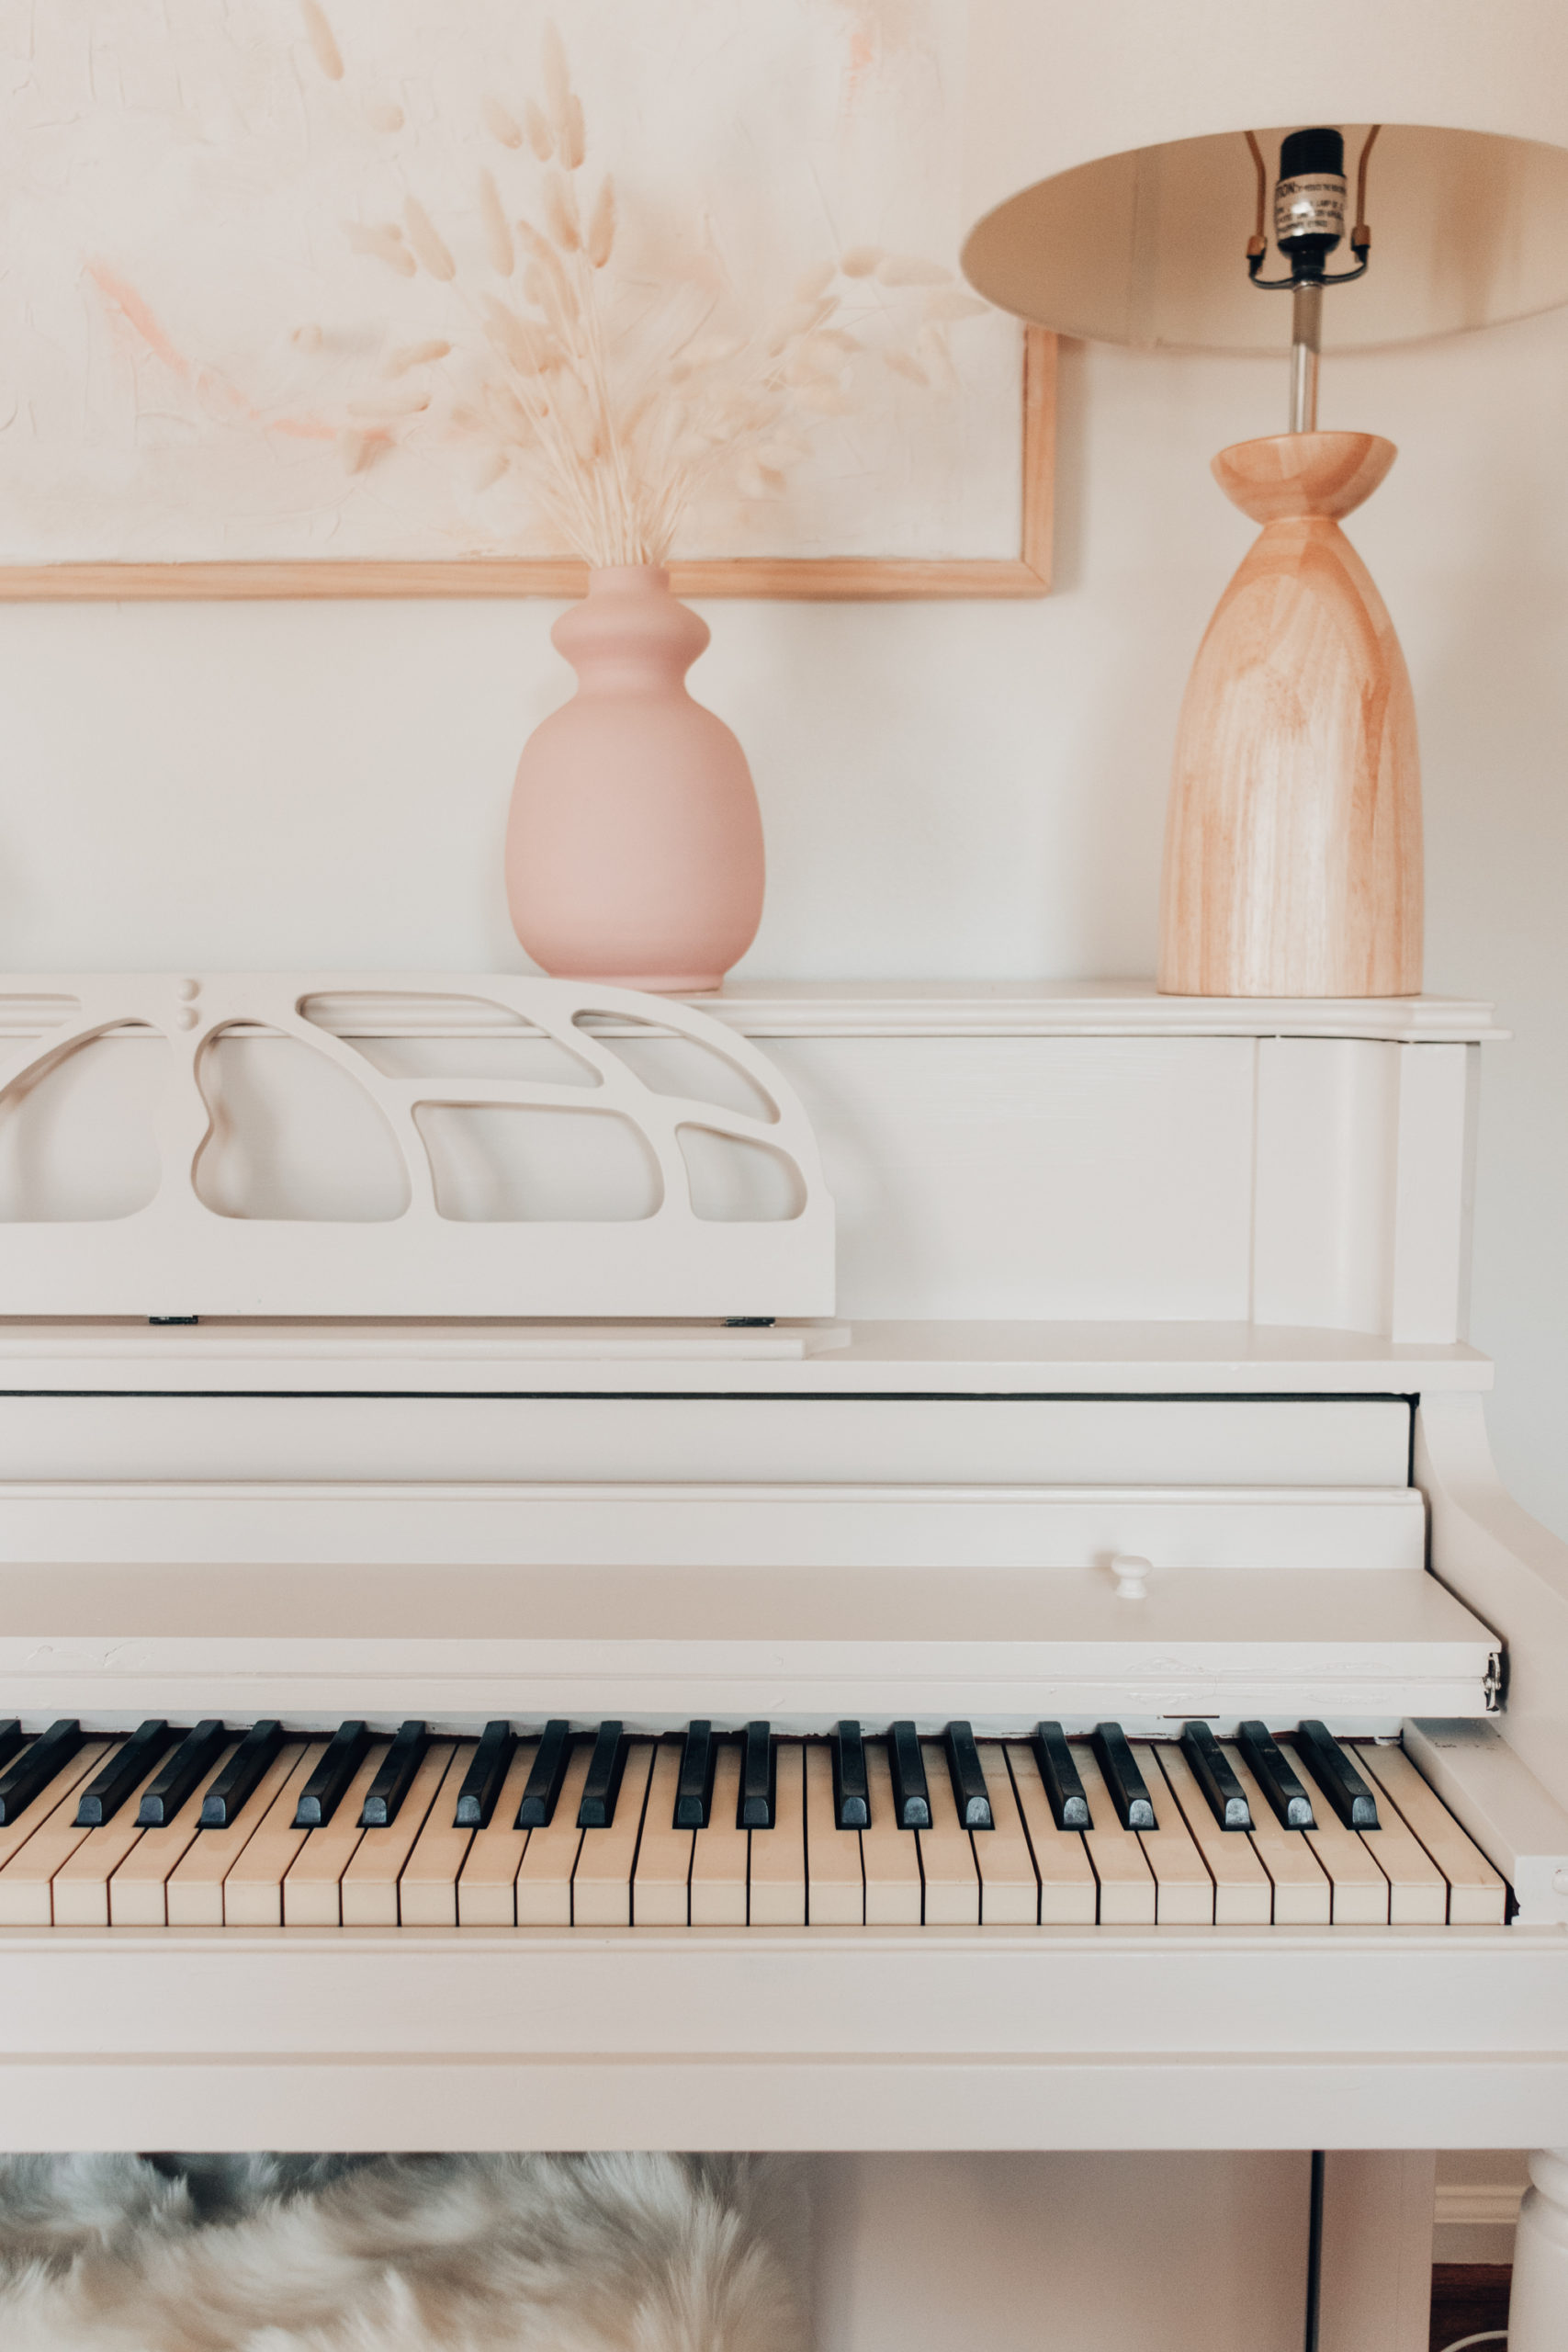
The only “difficult” part of this process is painting around the keys. I used plenty of painters tape to tape off the keys, but didn’t stress too much about perfection. In my experience, latex paint will scrape off of smooth surfaces pretty easily. Once you get it painted, pulling the tape off is SO satisfying.
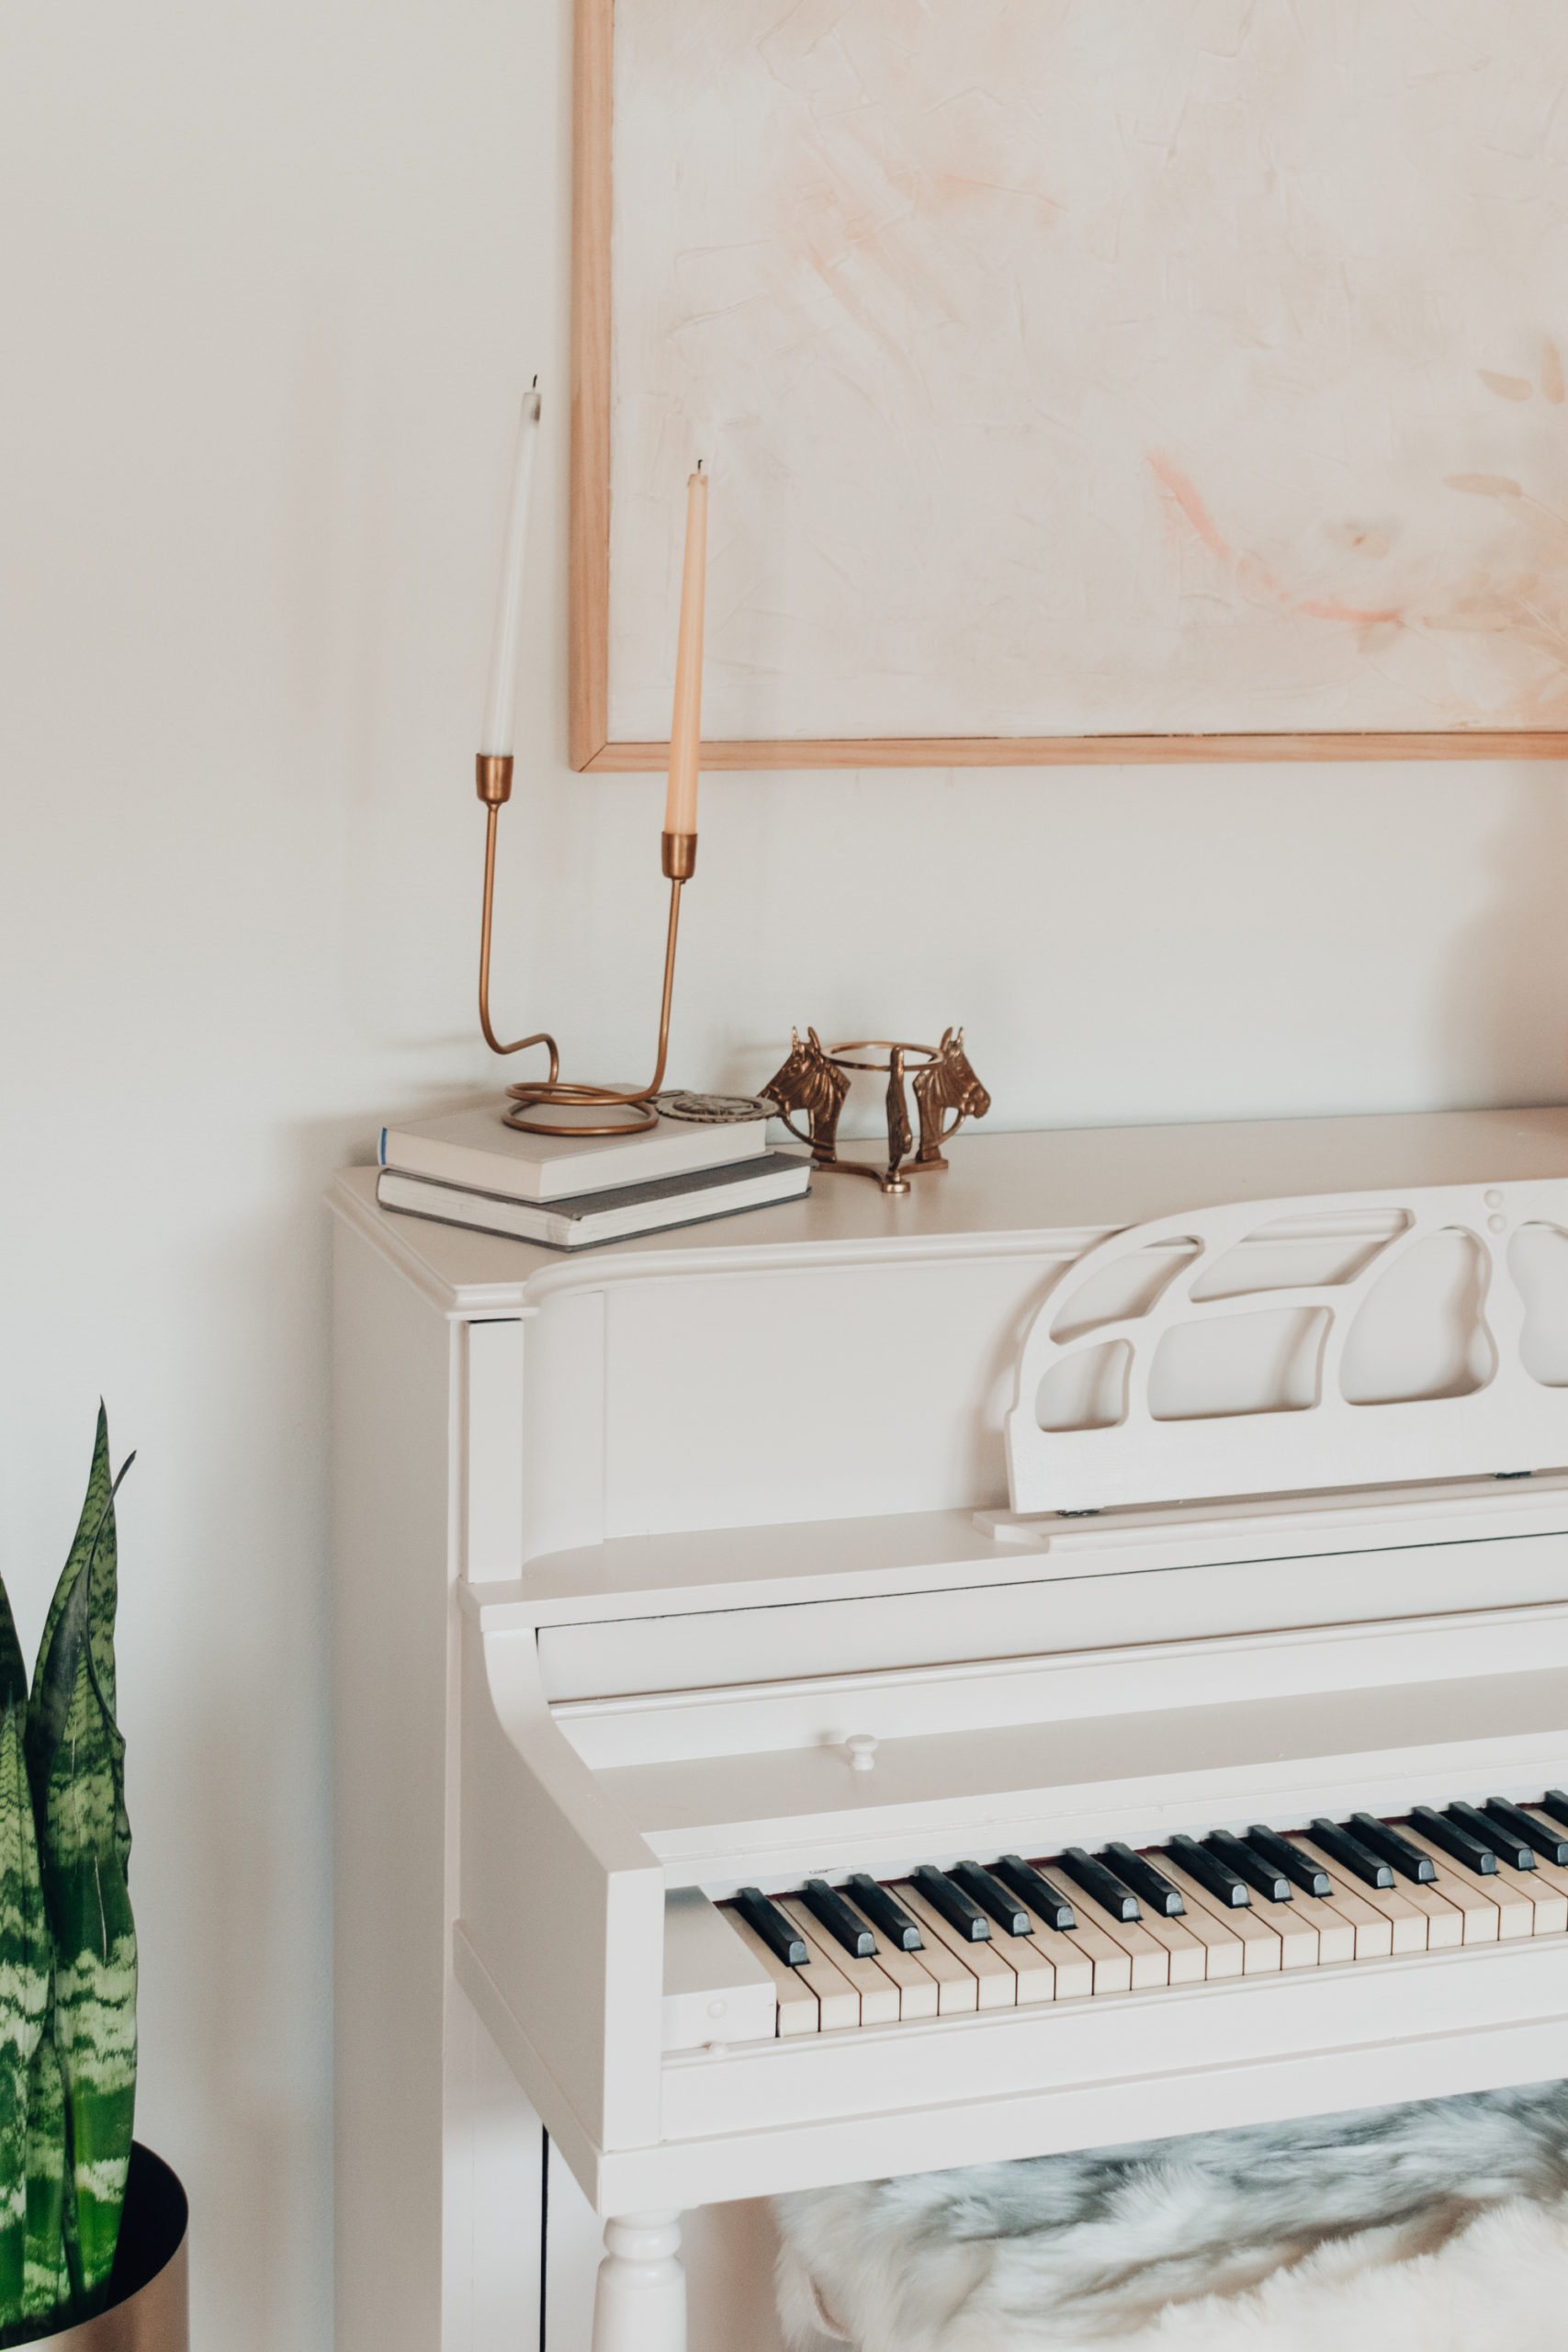
Lastly, simply let it dry and style it up! We love how this piano turned out. It is such a timeless statement piece in our dining room, and we love looking at it every day. Out of all the DIY projects I’ve done, this is one of the simplest projects with the biggest payoff.


